
My top tips on how to take jewellery photos – part 1
People often ask me “How do you take photos of your jewellery? Is it difficult?” No, it’s not difficult, but it requires effort and the willingness to learn. So in today’s post I want to share with you how I take my photos.
I often see business pages on Facebook selling their products with extremely fuzzy photos – not only fuzzy, but often they look cluttered, have a busy background, the product hasn’t been arranged in an appealing manner and you only get one view of the product. I don’t know about you – but that really doesn’t entice me to buy anything from these pages – it just looks unprofessional and I am not sure I can trust that the products these people sell are any good. I suspect the page owners just use their smart phone and point and shoot and hope something sells.
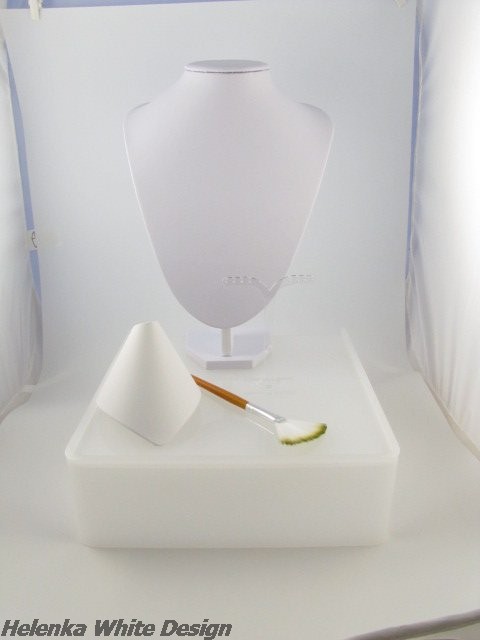
The majority of my customers order online. They rely on my honest and accurate description and more importantly on my photos to get a good idea on what my jewellery looks like. And this is why I use a neutral background (a white vinyl canvass and a white riser) and take plenty of shots of my items at different angles. With my polymer clay designs I also show the back of my items – because some of them have a lovely texture and my signature in form of a cane piece or engraved. My photos are not retouched – the only thing I do in Photoshop is I crop them to size (and if necessary rotate them). This is why you might see a finger print on the clay.
I don’t claim to be a great photographer at all – I have taught myself from instructions and am still learning and also eyeing up new tools like an overhead light and a gradated background.
Anyway, there are four things you need when photographing your products.
- A decent camera
- Lots of light
- A good eye for what makes a great photo
- Time & Patience
A decent camera.
Ideally you have a DSLR camera, however these don’t come cheap and these days you can get non DSLR cameras which work just fine. When my old Canon Powershot A75 died (it produced pink stripes) I had to get a new camera quickly. The people from the Table Top Studio, where we got my light tent from, helped me finding the right camera for my budget. To take good shots of your products your camera needs to have a good macro for close ups, you also need Custom White Balance, Exposure Compensation and Aperture Priority (on the little wheel it’s AV). Not all cameras have all these functions – our Ixus 800IS for example has no Aperture Priority.
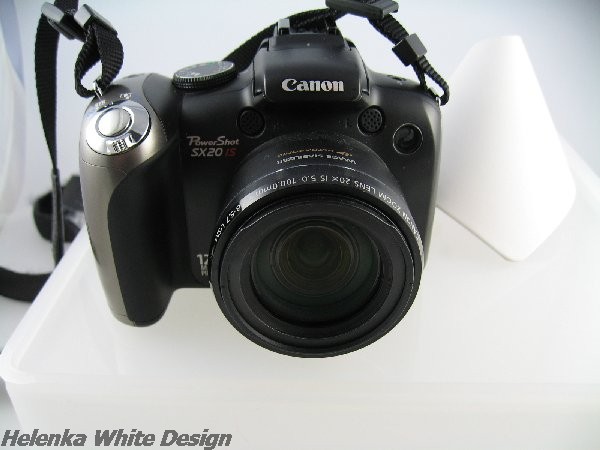
We ended up buying the Canon Power Shot SX20 IS (it’s about four years old so it might have been replaced by a newer model by now). It’s a great camera with a brilliant macro. I can also make small videos with it and it also has a 20x Zoom – so it’s a good all-rounder. And it comes also with an Image Stabilizer and has 12.1 Mega Pixels. The image stabilizer is useful because I never use my tripod – mainly because I tend to get very close to my objects for detailed shots using the macro and with this camera it’s best to take it in your hand. It’s fairly heavy and I have quite a steady hand. However, some cameras might work slightly different and you want to use a tripod with it.
Lots of light.
Ideally you can make use of lots of sun and shoot your items in daylight. Unfortunately I live in cloudy and rainy Cardiff – the sun is rarely out and when it is I find it tricky to avoid harsh shadows. The next best thing is a light tent and at least two daylight lamps. You can find cheap light tent and light sets on eBay or you can make one yourself. There are plenty of tutorials on the internet – here’s a link to one of them – and here.
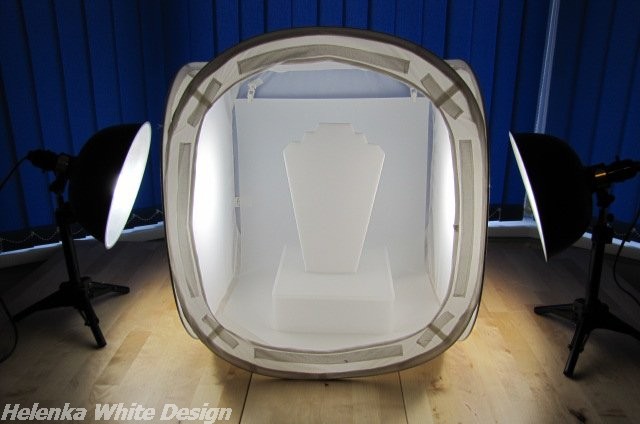
My husband bought me the EZ Cube Kit 20. It came with a 20”x20” cube, a smaller 12”x12” cube, instructions, technical support for a year, and instructional DVD and two 30W 5000K High CRI Trumpet Top Daylight Balanced Compact Fluorescent Bulbs fitted on table top stands (you can get larger ones) It’s not cheap, but it was a Christmas present (I usually ask for tools for my business). He bought it from the Table Top Studio and I can highly recommend them, because their customer service is great. They helped me with several questions and advised me which camera to buy as mentioned above.
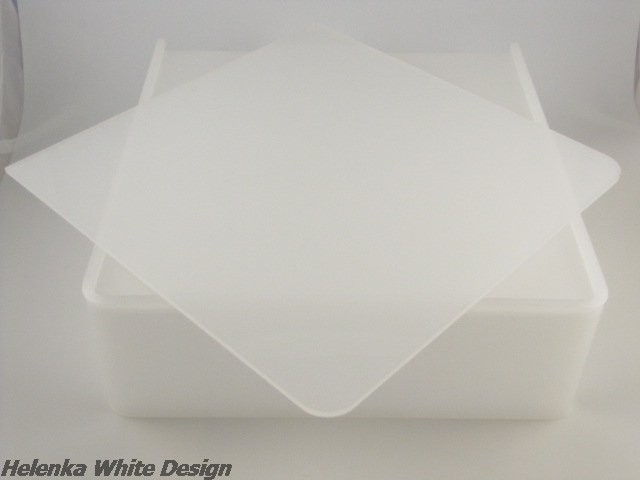
I also invested in a riser with different inserts, a brush to keep the riser and busts dust free and a white vinyl background sweep to keep the background neutral.
And this is it for part one – please check out the second part next week,where I show you what camera settings I use and go into detail with points 3 and 4.
Thanks for reading – and please leave a comment or /and share the post on your social media.:)
PS:This article was written in 2014. In 2016 I got a new camera – a Canon DSLR EOS 1300D, because my Powershot developed a fault that couldn’t get repaired. It had tiny droplets of inside the lens and you could see those as spots when I photographed against a white background. Since the new camera is a DSLR it’s more complicated to use. However the same principles apply to taking photos. The photos showing my old camera were taken with our old Canon Ixus. The props were taken with my Powershot. The image with the pendant was taken with my new camera.