
Leverage Your Art review – Spring 2024. Registration is now open for autumn 2025.
In this post I want to share with you my experience with the Leverage Your Art course, which I have been a student off this spring. It is a course which is run every year by American artist Stacie Bloomfield. This is my personal experience and if, by the end of this post you are interested in enrolling into the autumn course, then I have an Affiliate link for you at the end of this post. So, keep on reading 😊
What is Leverage Your Art?
Leverage Your Art is an 8-week long intensive art business course that teaches you everything you need to know to start an art licencing and art product business. The course is very intensive. It has 6 modules and 2 implementation weeks. It is run by artist Stacie Bloomfield who is the owner of Gingiber. If you are on social media, you might have come across her adverts. She does not only licence her own art very successfully, but also runs her own product-based company and employs a team that helps her to run her 7- figure business. One of her specialties is her tea-towel subscription club. On top of that she also runs the Leverage Your Art course, teaches other classes and runs the Creative Powerhouse Society.
Why I enrolled in this course.
The first time I came across Stacie’s education website was last year when I joined one of her free courses called “The Artist’s Side Hustle”. It was a good introduction into her enthusiastic teaching style and I got a few takeaways from it. By the end of the free course, she advertised “Leverage Your Art”. I thought it was expensive, I wasn’t ready to part with that amount of money and so I parked that idea. However, then I got interested in creating art for products and art licensing. I also started following various pattern designers such as Bonnie Christine and played with the idea of taking her “Immersion” course. Her course teaches you the everything you need to know about surface pattern design, is very practical and also teaches aspects of running an art business. It’s as expensive as Leverage Your Art and has a big following. However, after a lot of thinking I decided against taking it. My main reason was, that some of the things she teaches are also available on Skillshare and more crucially I don’t want to subscribe to Adobe Illustrator and in her course, she teaches how to design patterns with Illustrator.
During my research I stumbled also across designers such as Liz Kohler Brown who create their designs with Affinity Design and Procreate. You only pay for both applications once and they are yours – no yearly or monthly subscription fees. While Procreate is pixel based and therefore has its limits, Affinity Designer is vector based.
After that decision I saved up for my refurbished I-pad Pro, so I could learn how to use Procreate. I also ended up buying the Affinity Suite, which works on Mac and Windows and there is also an I-pad version.
This year I ended up doing another free course by Stacie. I had a few students this year and was able to save money which I decided to invest in my education. It took me a long time to decide and I enrolled on the very last day and after I had some important questions answered. I wanted to know if the course be useful to people who don’t live in the US, if you need to know how to use Adobe Illustrator and whether the templates Stacie provides are made with Illustrator? One of her lovely team members, who was also one of the community guides answered my questions in a personalised video message. She reassured me that most of the content is applicable wherever you live with the exception of copyright. Illustrator wasn’t necessary and the templates are provided for Canva, which can also be used as the free version.
What the course content of the spring course looked like.
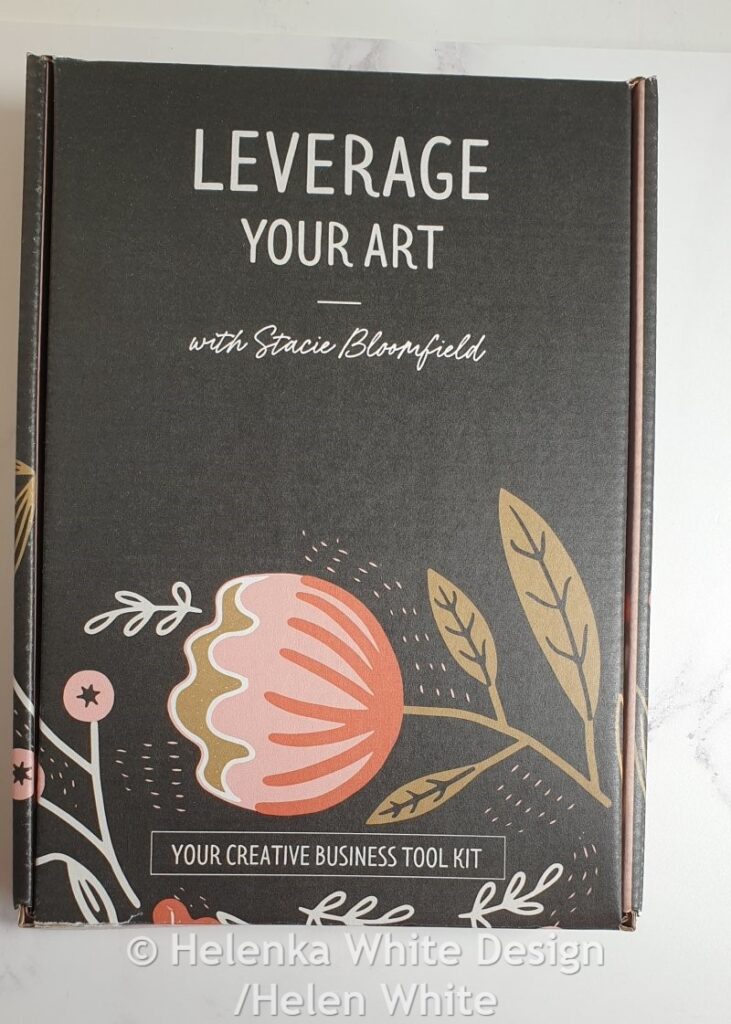
First off, this year is the first year Stacie has created a beautiful welcome box, which I had to hide from my kittens, especially from Lucy, as she loves to chew on cardboard. The welcome box came with the printed version of the workbook. You can also download each module individually. This box went to every student- even to those like me who live outside the US. Some people might think this is just a gimmick, however I thought this was a lovely touch.
The pack included the following:
A cardboard hat for graduation – that didn’t fit my head very well.
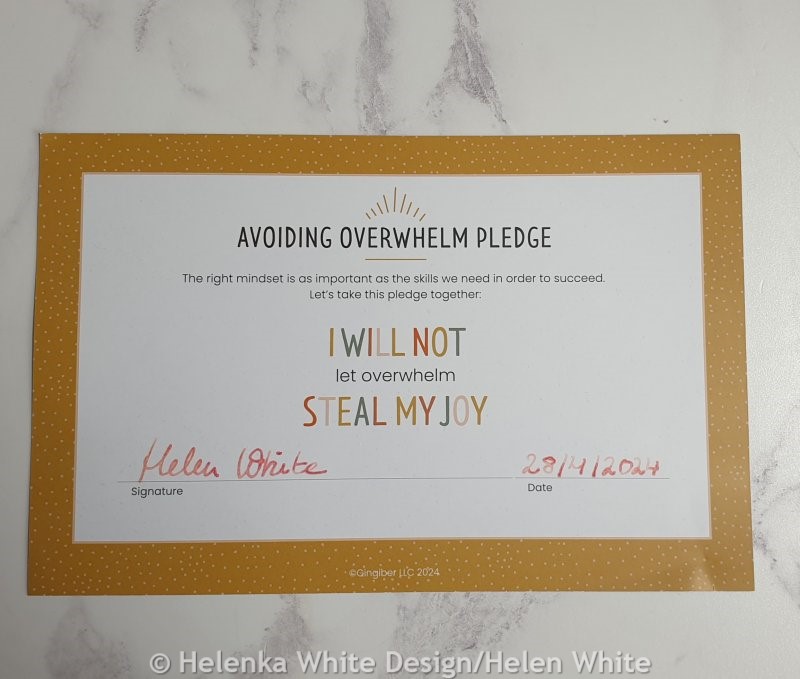
A small affirmations pad, a coin with the two mottos of the course: “Slow Growth is good growth” – and “I will not let overwhelm steal my joy”.

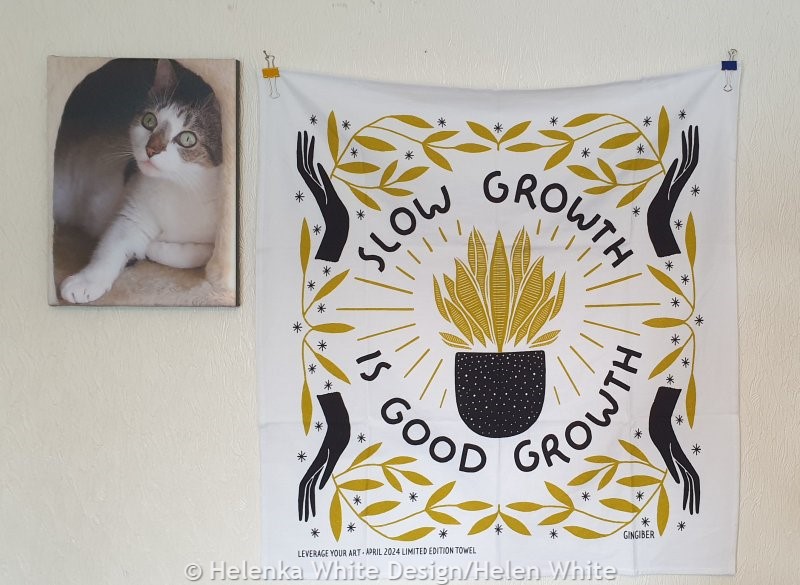
It also had a ballpoint pen, a wet erase marker, welcome message, a getting started guide, a sketchbook, an income stream guide, a journey map and a tea towel, which currently hangs on my wall in the workroom.
The box also had eight envelopes, six for the modules, one welcome envelope which is also module 0 and a graduation envelope. And of course, it had the printed version of the workbook, which was printed on high quality paper and has lots of space to jot down thoughts, ideas and action points. You can see the content of the box and of each envelope in my YouTube video here.
The course modules in more detail: Module O – The welcome module.
The welcome envelope included a poster you can use as a vision board, the syllabus in a handy booklet and a guide that explains how the course and the community works. Stacie is using an app called “Mighty Networks” for this course. It has proven to be quite a stable app, that doesn’t crash. Her course is hosted on Kajabi, but their own phone app tends to crash and is very slow. The envelope also had a pledge card which says: I won’t let overwhelm steal my joy, a welcome card with action steps, an art licensing glossary and an introduction leaflet for the community
The welcome module has 16 short to medium length lessons including downloads and extra lessons about how to create a vision board. I found the lessons about how to deal with imposter syndrome and avoiding overwhelm useful. All of her lessons are available as a downloadable audio file and she also provides downloadable transcripts of all lessons. I found this useful as it means you can also re-read the lessons and don’t have to watch the videos. I like to read things and make notes, so I ended up cutting and pasting the transcripts into word and saved them to my own module library that I created for the course.
Stacie also provides a few practical lessons, three of which show you how she uses Illustrator to vectorise a hand-drawing and a font and how she creates a repeat pattern. As I don’t have Illustrator, I didn’t find these of use, but watched them anyway, as I suspect I will find similarities with Affinity Designer. She also shows you how she scans her artwork and how you can turn your own handwriting into a font. This is something I have actually tried – it took me a few attempts, but now I have a couple of my own fonts that I can use. The welcome module dropped two weeks before module 1 which gave us time to get through the content and join in with the community.
Module 1: Your Style & Your Story.
The envelope had a card with an overview and action steps to tick off, a card about the design briefs which will help building mini-collections, a magnet with 10 truths and a cute sticker with a giraffe. This this refers to the big yellow giraffe method she teaches in the course. It also had a design brief and a magnetic puzzle piece.
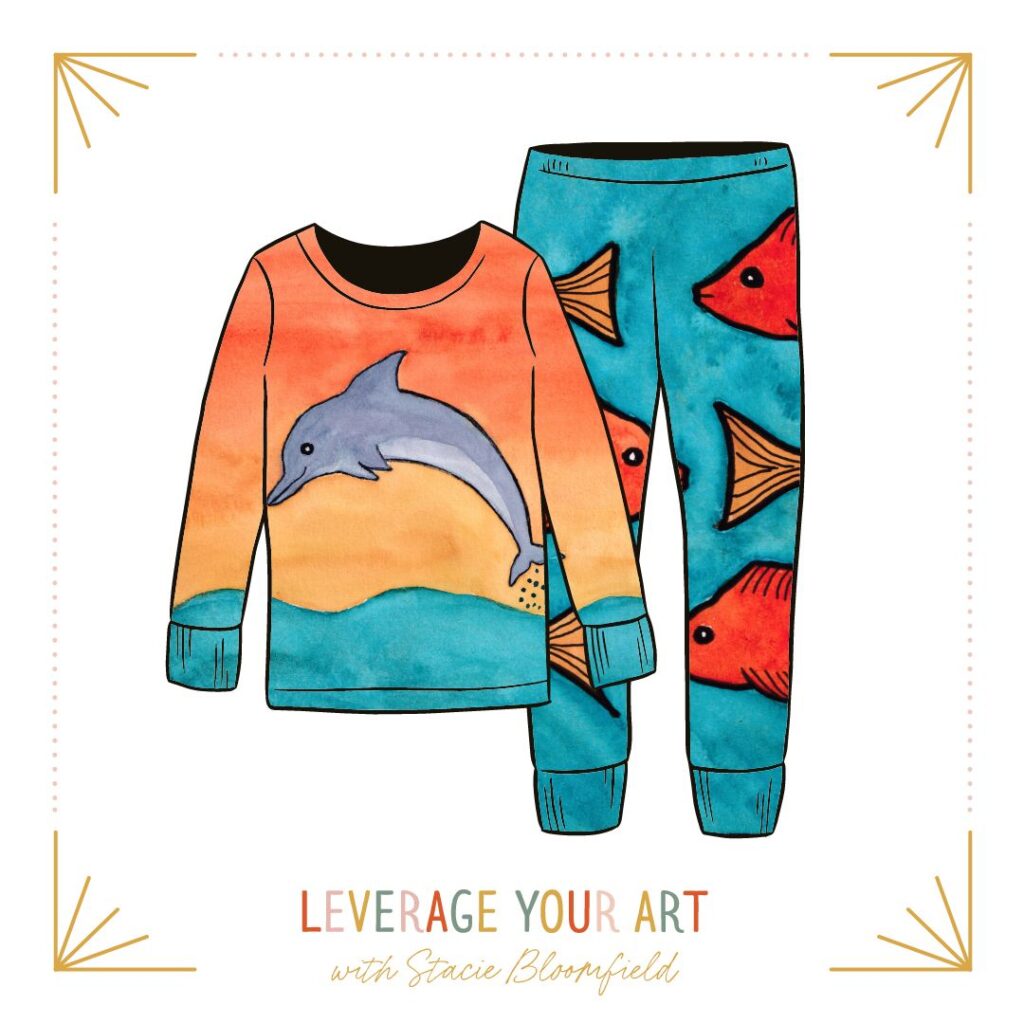
This module has 14 lessons, two interviews and includes the first of 6 design briefs. The design briefs were one of my favourite parts, even though I didn’t quite finish them. They are a lovely practical element which gives you a clear idea of how it works when you get a brief from a client. The brief for this module was to design kids’ pyjamas with the theme of adventure. As I haven’t learnt yet how to create repeat patterns, my pj bottoms don’t look quite right. But I gave it a try. Anyway, these images show what I came up with – using watercolour in the one version and gouache in the next.
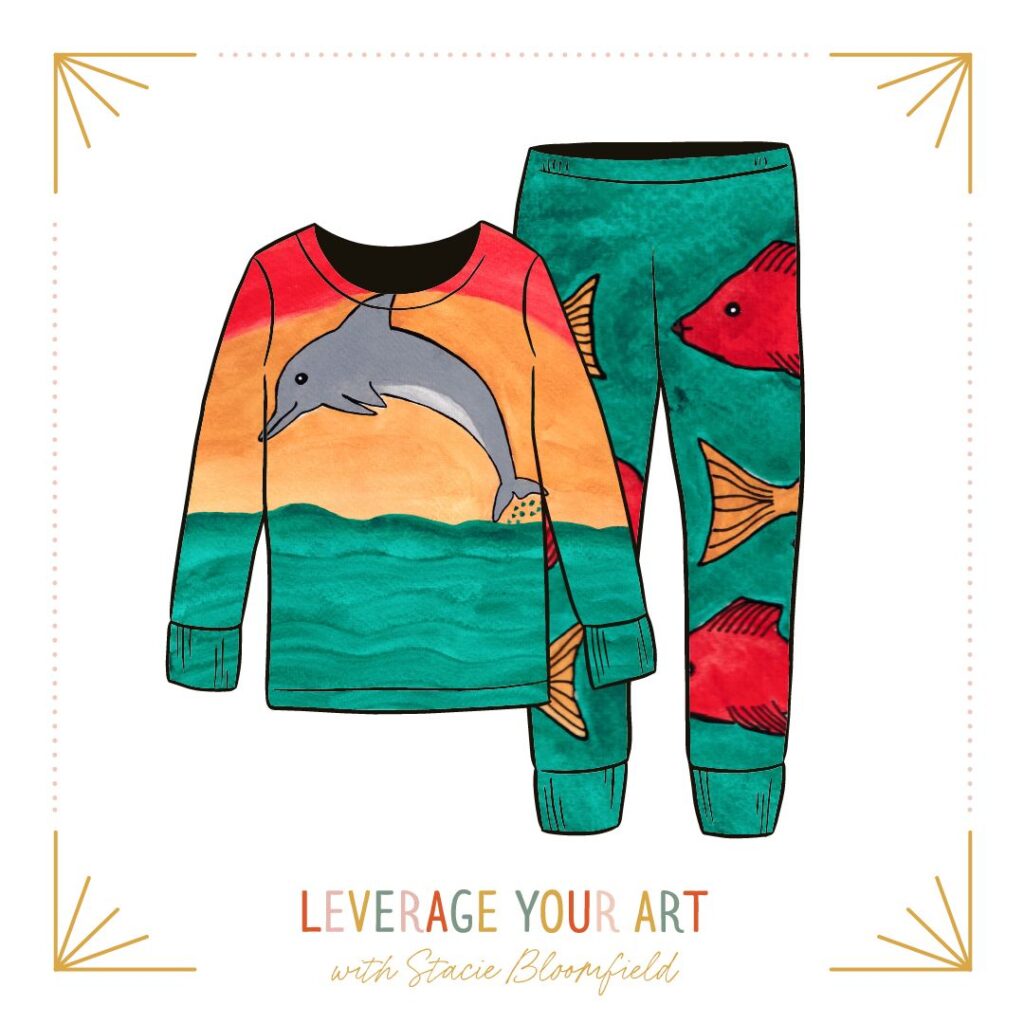
The module goes into detail on the importance of developing your signature style and voice and she helps you with creating your own signature style guide. This was a useful exercise as I realised that I need to produce more art on a regular basis. The module also teaches you how to figure out your target audience – if you have done other business courses, you will be familiar with the concept of an ideal customer. Other aspects covered in this module are social media, social media planning and why hand lettering is so useful as a marketable art.
Module 2: Building your brand.
The envelope had an overview and action points card, a template that you can adapt to write your own brand story, a copyright decision tree guide, another puzzle piece, an action steps card for the implementation week and the second design brief
This module was packed with lots of information, with 16 lessons and an expert interview with a lawyer who specialises in intellectual property for artists. The first 8 lessons concentrate on brand building and growing your email list. For some people this was completely new, I already have a tiny email list and a website, however I found these lessons very useful and took a lot of new ideas from it. As a few takeaways I have changed my welcome email, created a short brand story for myself and plan to create a new logo.
m*/This is a module I will go back to a few times. The second half is all about how to protect your art and register your work to protect your copyright. These are very US focused lessons and copyright works a bit different over there. Here in the UK, you are not obliged to register your copyright, though there are options I will look into when I feel the need. As I am at the early stages of my art journey this is not my priority. However, these lessons are very important. Stacie shares her own experience with having her own art copied and how she dealt with it. It’s quite an eye opener.
I worked on my design brief much later at the end of the course, but I thought I share it with you. The brief continued with the kid’s adventure theme, but this time we had to create a growth chart. Creating the wall chart was a big challenge due to the measurements. In the end I painted each element in watercolour, scanned it all, removed the background and imported it into Procreate. Adding the measurements was tricky and the community was super helpful when I asked about what measurements to include. I don’t have kids, so haven’t got the foggiest about grow charts and measurements. I am actually really proud of my achievement – it involved a lot of problem solving.

This module was packed with information (21 lessons in total plus 2 expert interviews) and has lot of practical advice. This is also the module I will have to revisit a few times as this is best for artists who also have already a lot of art that would work well on products. Stacie teaches how to create a pitch perfect portfolio, organise and unify your existing work and filling gaps in your portfolio. These are useful lessons even if you are not there yet, because it helps you to work towards a unified body of artwork. She shows you her own SKU system and how she leverages her own illustrations for making complementary work. She also shows you how to create tear sheets, portfolios, decks and a brand look book. For the portfolio lesson she uses Squarespace as a platform. Squarespace is a well-known website host which is very user-friendly, but it isn’t cheap. My own website is run with WordPress and WooCommerce. So, once I have a portfolio of artwork, I would like to share I will add a dedicated portfolio space to it.
Finally, she also teaches you how to find an agent and how to review and understand contracts. The brief for this lesson was to create a kid’s adventure rug. Below you can see my two versions – both were painted with watercolour and then scanned in.
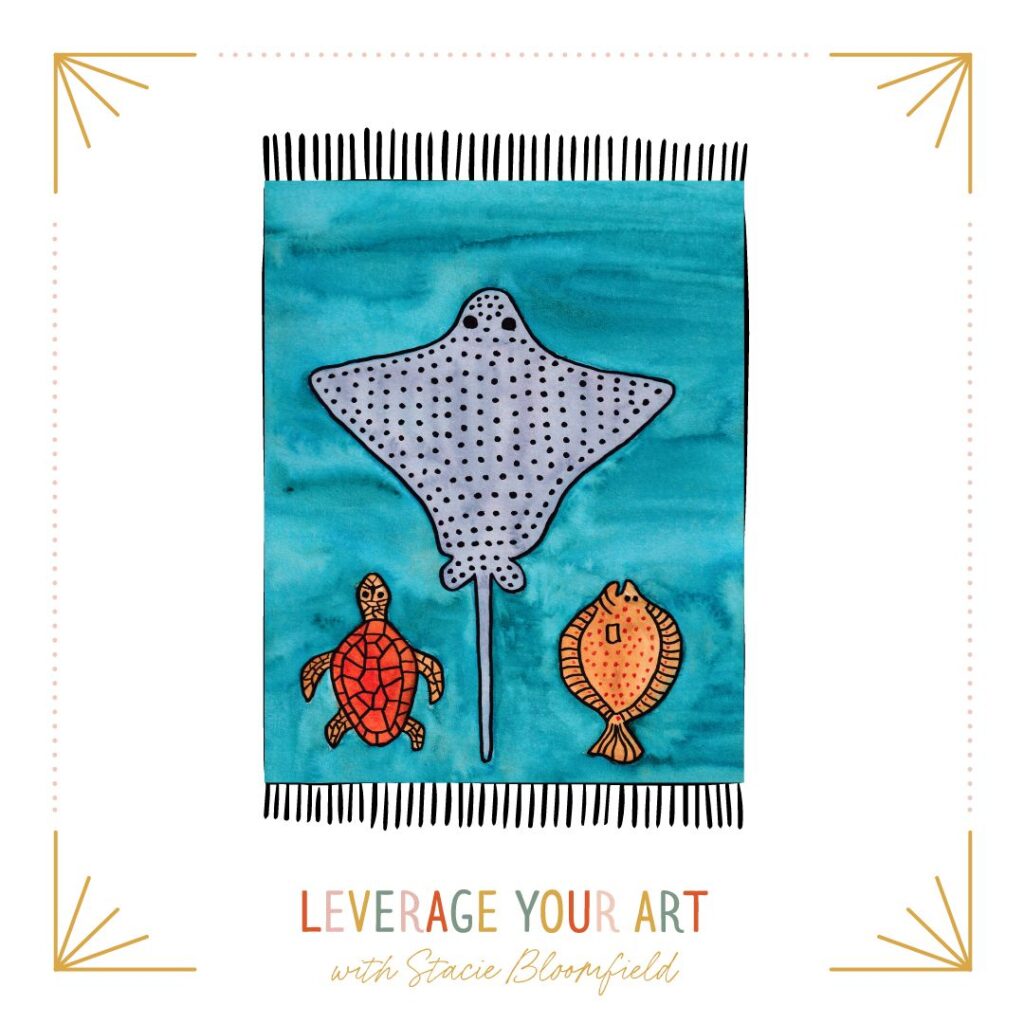
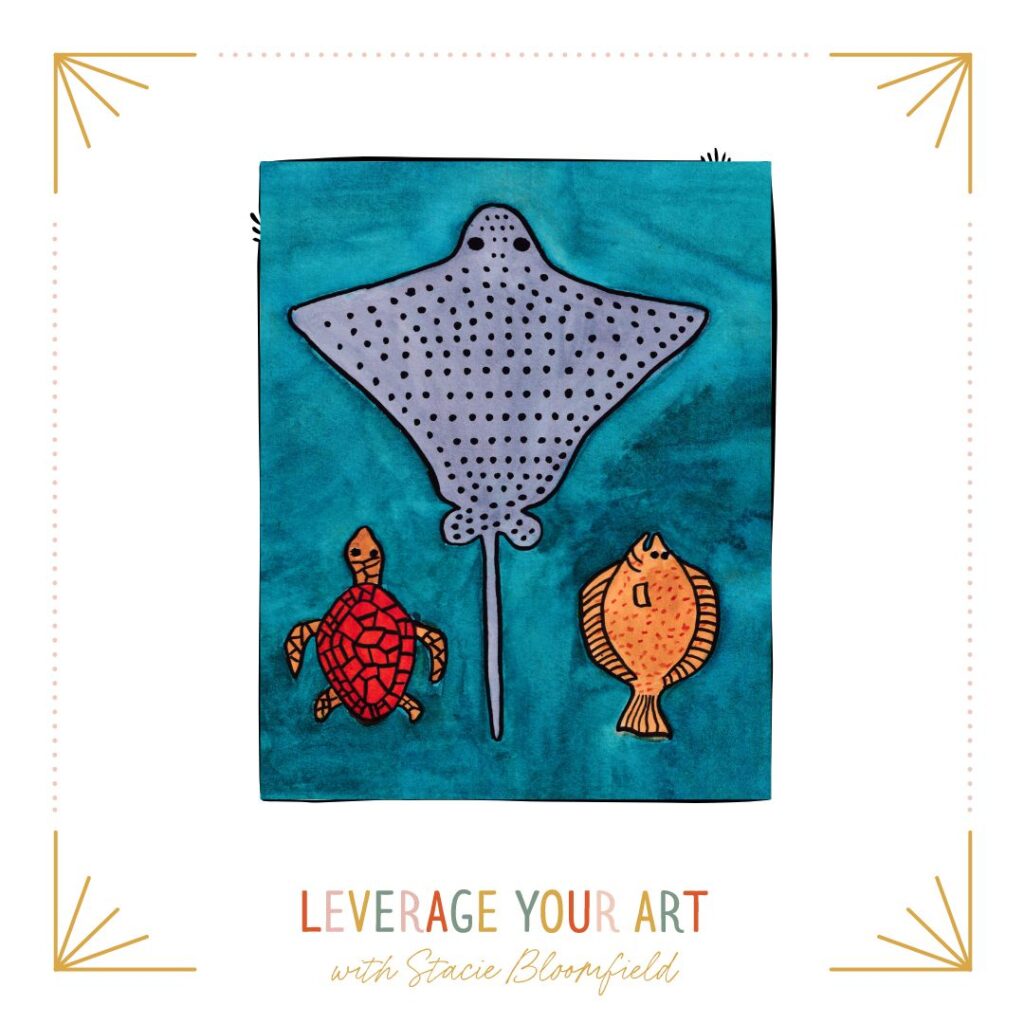
The envelope for this module included a card with an overview and action points, a portfolio checklist, an example of a tear sheet, Gingiber’s own brand book, the third design brief and another puzzle piece.
Module 4: Licensing foundations & workflows
This module goes into the nitty gritty of art licensing. It has 20 lessons, two interviews and a pricing calculator. Stacie teaches you how to research licensing partners and how to pitch and organise your pitches. She also teaches you how to deal with a no, how to create workflows and how to price your work. This module is super interesting and something I will get back to. In the workbook there is a big list of companies who license art. One of the interviews is with Louise Lockhart who is an artist from the UK, which I found very interesting to listen to. The design brief number 4 was to create 3 stickers for an eco-friendly coffee shop. I designed my stickers (below) with Procreate. Painting digitally is completely new to me and a big learning curve.
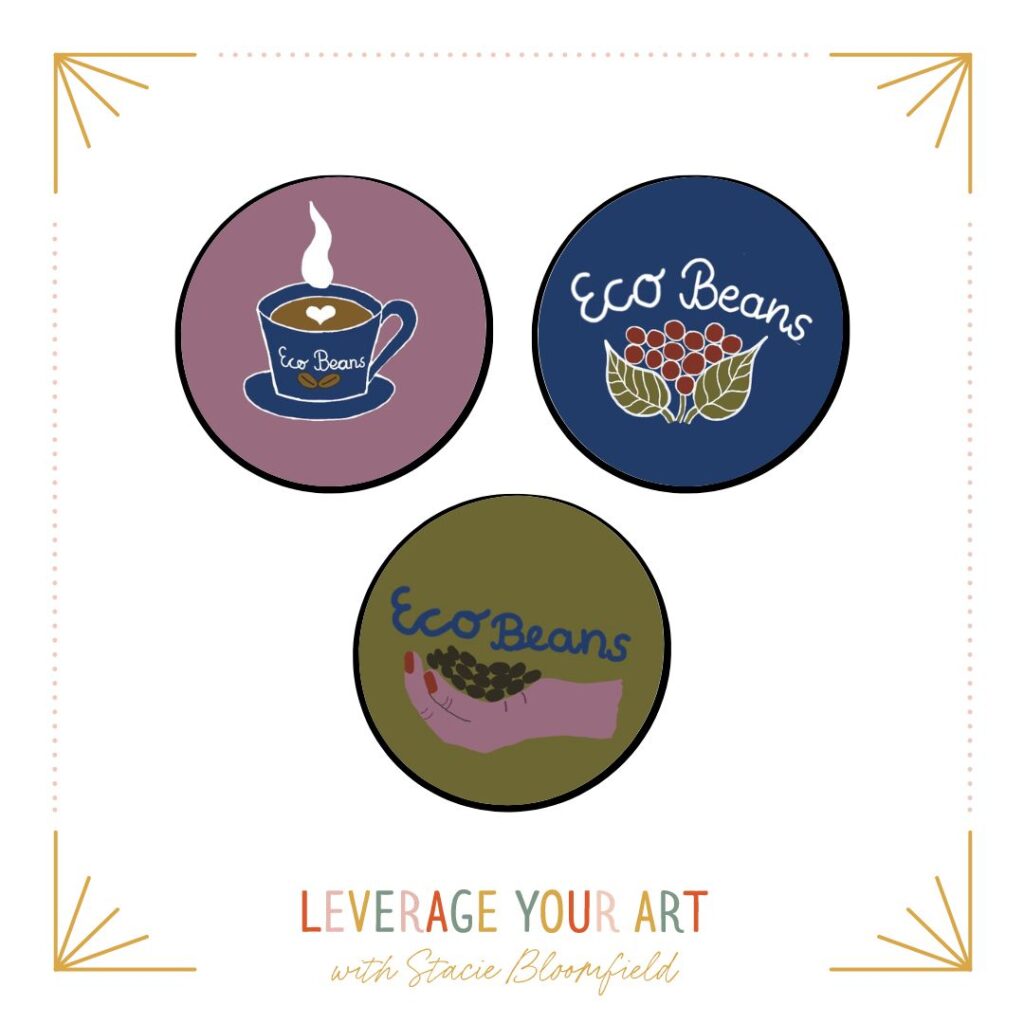
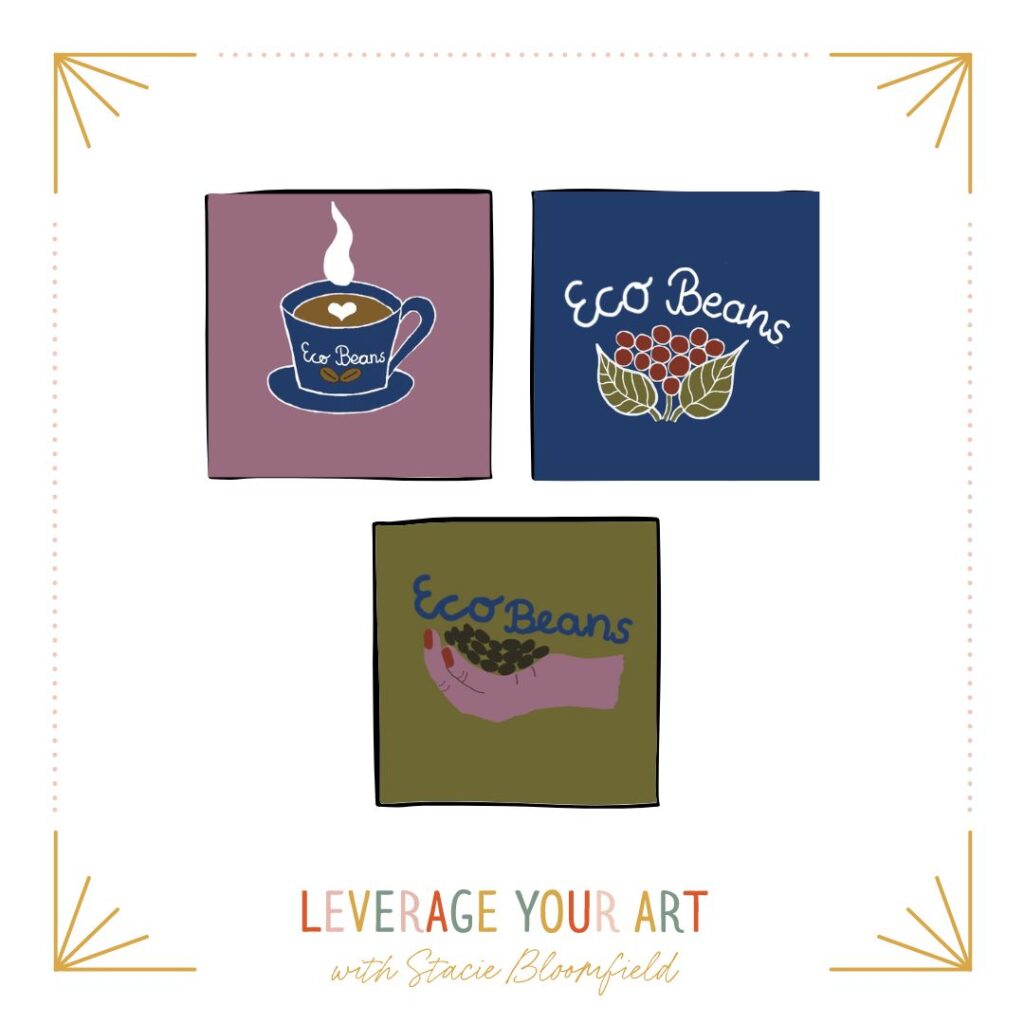
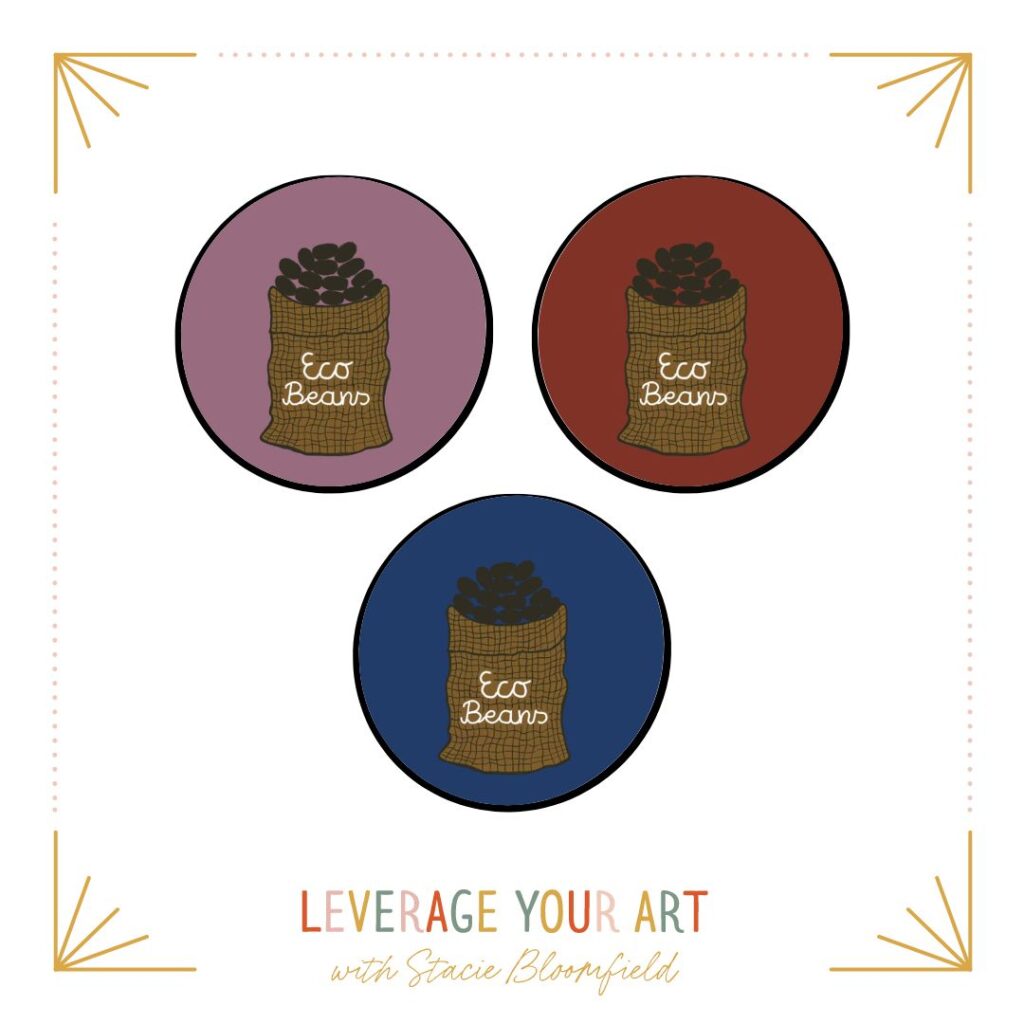
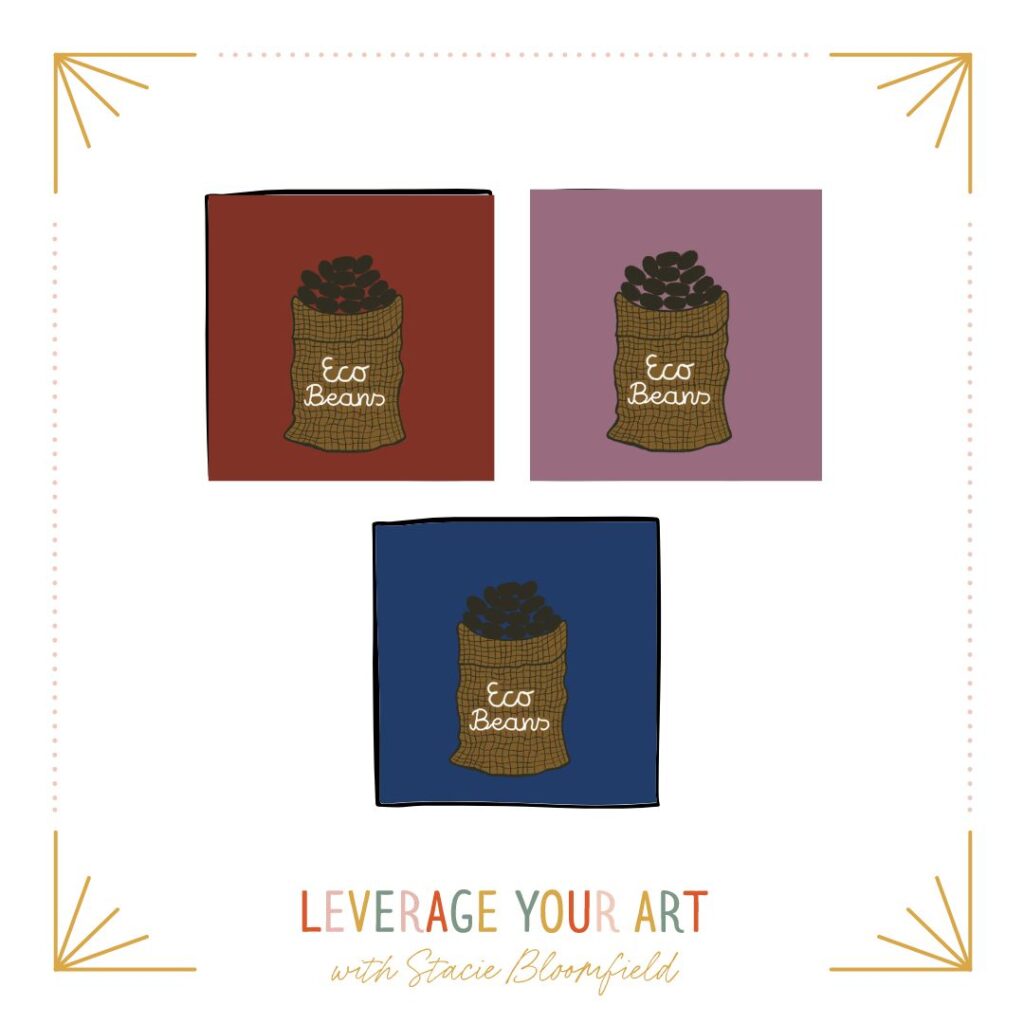
The envelope contained an overview and action steps card, a pitch email checklist, a link to the pricing calculator, the boomerang technique card, a card with implementation week action points, the design brief and another puzzle piece.
Module 5: Leveraging your art on products
The module is divided into 2 sections. The first part teaches you how to get started with art for products and is made up of 6 lessons – here Stacie talks about brand, how to find the right audience for your product, developing the right product for your audience and how to launch and scale it. The second part of this module leverage your art on products goes into deep. Here she teaches things such as how to develop a product-based business and create a business plan, how to manufacture products – she even lists the companies that Gingiber uses in the workbook.
She also talks about how to wholesale products, working with sale reps and getting products into shops. And finally, she also talks about how you can scale your business and eventually employ people. One lesson also includes a video on how to set up a drop shipped Printful product in Shopify. The modules include two interviews and the 5th design brief continues with the coffee shop theme. This time we had to design a wall mural or wallpaper repeat. As I haven’t learnt yet how to create repeat patterns I haven’t done this brief.
The items in the envelope were similar to the last one.
Module 6: Leveraging your art across multiple revenue streams
In the final module Stacie teaches you about different revenue streams you can add to your art business. These include things like custom work, craft fairs, developing a signature product, creating complementary products for a fabric line, workshops, embroidery patterns & products, drop-shipping and print on demand and offering online services. There are 16 lessons in total plus an interview with an artist about wholesaling products. A guest lesson about drop-shipping using Spoonflower was also included.
The final design brief still used the coffee shop at its theme and here we were asked to design packaging for a bag of roasted beans. I haven’t finished this design brief.
As this was the final module it also included a lesson on how to plan your year and she encourages you to create your three big goals – these depend on where you are right now in the business.
The envelope included a wipeable sheet where you can write your 3 goals with the pen provided in the box.
The final envelope included the final puzzle piece, a certificate and an invitation to join the Creative Powerhouse Society, which is Stacie’s membership for artist.
So here are my goals for the year:
- Learn how to use Procreate and Affinity Designer and learn how to create surface and repeat patterns, while still painting with traditional art supplies.
- Build up a portfolio by making art that works well for products in the categories animals, holidays, florals and lettering.
- Start getting art on products by using print on demand sites or manufacture.
At the end of the course, we were invited to final zoom call to celebrate our graduation and used our hats. I actually struggled to keep the hat on, but at least I managed to take part in that call.

What I liked about the course and why I recommend it.
This course is a very intensive course and 8 weeks are definitely not long enough to implement everything. However, it’s not meant to be implemented in this time frame. The course is well structured and the modules build up on each other. Asse it is a lot of information to take in, the modules are drip-fed every week. Therefore, Stacie’s motto “Don’t let overwhelm steal your joy” – is quite fitting.
After the first 2 modules and after module 4 we had an implementation week – this week was designed to give us time to watch the modules, start putting things into action, ask questions in Stacie’s weekly Q & A’s and participate in the community. The community was great and I made as much use of it by asking questions and commenting on other people’s posts.
The community guides were lovely and helpful. One thing I couldn’t try out were the mindset reset calls that were run by community guide Phia Stroijny. This is because the calls were on Wednesdays and I work on Wednesdays in my part-time job. When I had time off and tried to take part, Windows decided to put lots of updates on my laptop and I couldn’t get on the call in time. However, the students who did take part, found those sessions very useful.
What struck me about Leverage Your Art was, how well structured, well presented and professional this course looks. A lot of love and care went into the content and presentation. Stacie is a very well-spoken and enthusiastic and positive person. You could tell that she takes her time to prepare for the live calls. You could ask questions in the community directed at Stacie and she would pick the ones she could answer in an hour-long call. I mostly just watched the replays which also had transcripts. If she can’t provide an answer, because of too many questions, you could tag the community guides for help.
Only a few lessons involved her using Illustrator and the copyright lessons were more focussed on the US, but the UK students (and there were quite a few) could quickly find out what was relevant for the UK.
What I struggled with.
What I mostly struggled with was actually finding the time to get through the modules, due to the fact that I not only have a part-time job, but was at the time teaching several students. I managed to watch all the lessons and made notes. Some modules will be more useful in the future when I am actually thinking of pitching. I still have to go through the bonus lessons and interviews. There’s so much content! The course gave me more clarity and I will keep going back to the modules. I thought that the design briefs were a nice practical exercise and gave us a good idea of what to expect when working with a company.
In summary – I recommend this course to artists who are serious about building an art business with the focus on art licensing and getting art on products. However, it will be advantageous if you already understand how pattern design works and have built up a body of work that you can use to sell on products. Just a side note: When you enrol into the autumn course you will probably have different bonuses and the content itself might change slightly.
If you think this course is for you – please check out my affiliate link here.
UPDATE from August 2025: Stacie has restructured the course and this year the course includes a new version of the box and a physical workbook and is more streamlined and has an exciting new module about teaching your art skills called “Teach What You Know” and a generator for creating your ideal customer. Find out more about the new and improved course here.
I have re-enroled as an alumni this year and hopefully see you in the community 🙂 – Helen x
Enrolment for the autumn intake of Leverage Your Art 2025 is now open:
