
Helen tests…Mould making products
In this post I am showing you various mould making products.
I usually make my moulds for my polymer clay creations Siligum. I love the stuff- it is dead easy to use, sets very quickly and the detail is very good when you use the resulting mould. However it’s not cheap when you use it a lot. I have also used Sculpey’s Mold Maker in the past, but it is trickier to use as you have to bake it and when you mould items they are harder to get out, because the Sculpey is soft before you bake it.
When I was browsing this website Metal Clay I stumbled across two moulding compounds I have never heard of before, so I decided to try them out and I’d like to share my findings with you.
First up: The Amazing Mold Putty

This is an American product which works on the same principle as the Siligum, but at £17.99 it is a slightly cheaper than the Siligum (though just noticed on Metalclay.com that they have lowered the price to a very competitive £19.99, and as far as I know this is the cheapest on the net).
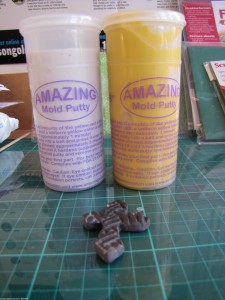
The putty comes in two parts – yellow and white and you mix two equal parts of the putty together for about minute until the colours blend in nicely.

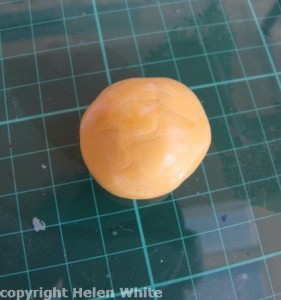
Then you form a ball to eliminate creases in the putty and put it over the item you want to mould. Make sure the whole item is all nicely covered to get all the details. Be aware that the compound has an open time of 3 minutes before it starts to harden.
I used my polymer crosses and they are an awkward shape to mould. Other items like shells certainly would work better.
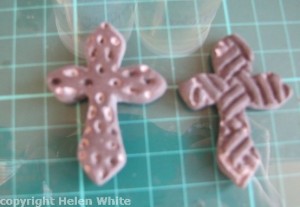
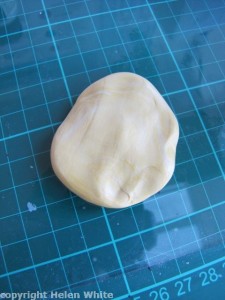
Let the compound set for about 20 to 25 minutes, remove and you have a nicely detailed mould to use with your polymer clay, Art Clay, PMC, ice or even chocolate. The stuff is non-toxic.
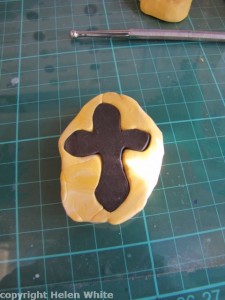
I was quite impressed with this product, the detail of my Celtic cross came out nicely, though when I later refined it I used my trusted Kemper ball stylus to enhance the pattern (I also do this when using my Siligum moulds). According to the manufacturer you can actually extend the allotted working time by simply sticking the containers in the fridge. Though the putty will be a bit stiffer and harder to knead, the cold will give it a few extra minutes to work with before it sets – however it also takes much longer to set. I haven’t tested this though. Another thing you can do with this putty is to accelerate the curing time (if you can’t wait 20 minutes) by using a heat lamp or put it in the oven at a low temperature of 125F (52C) for about 5 minutes.

You can also add to an already finished mould and you can bake your food or polymer clay in the mould at a temperature of 395F (200C).
The mould is sold at £17.99 and gives you 300g of putty (150g of each).
Second test compound: Oyumaru Instant Mold Moulding Compound
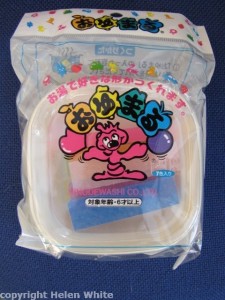
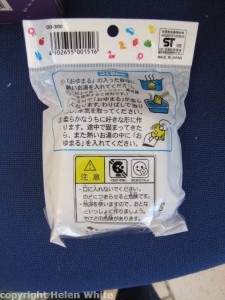
The reason I bought Oyumaru’s compound was because it is reusable, which makes it very economical to use. This Japanese product comes in a plastic tub of 7 x 7cm long sticks. The instructions are all in Japanese though, but Metalclay have a brief description on how to use it on their website and it is really easy- peasy.

Basically all you have to do is put it into boiling water for a couple of minutes. You can speed up the process by boiling your kettle (and making yourself a cuppa in the process ) and then put boiling water in the designated pan with your sticks in. Be careful when you get the sticks out though as they will be quite hot. You might want to use a slotted spoon.
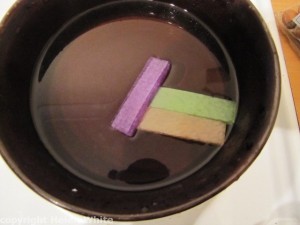
Roll the warm compound into a ball and press the item you want to mould into it. It only takes a few minutes until it hardens and is ready to use. The stuff is not as soft as Siligum or the Amazing Putty and you have to be fairly quick when you mould your pieces. I would also not recommend using big pieces with awkward shapes like the crosses I used. However the result is pretty impressive. The compound picks up the detail nicely.
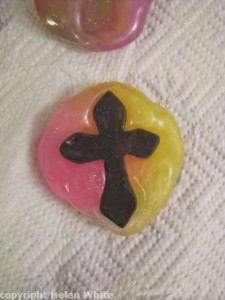
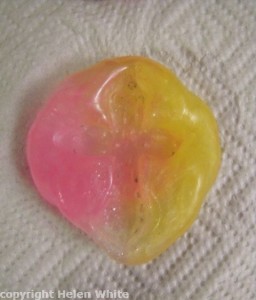
I would definitely invest in another box. It’s perfect when you only want to make a few items and then re-use the compound for something else. Also when you are not happy with a result you can try again. What’s also great is that the compound is non-sticky and you don’t need to use any starch or water with your polymer clay. It pops out easily.

You get 7 sticks for £4.95
April 17, 2012 @ 12:07 am
Hello, I have a craft shop in Spain and I´ll like to buy Oyumaru Sticks for moulding
compound. Can you tell me were have you buy it? I now that in Spain is not posible to buy it. I have tray in Japan but I have to buy a lot. I heve a friend in London and she can buy that for me. Or I can buy it direct from Spain.
Thanks and I wait for your news
Penélope
April 17, 2012 @ 11:37 am
Hi Penelope
I don’t know if you want to buy from a wholesaler or retailer. I don’t know the wholesaler for this product, but you can purchase it from the retailer I have mentioned in my blog. Just click on the link http://www.metalclay.co.uk
I have no idea where you get it in Spain as I don’t live there.
Hope this helps.
Helen
October 28, 2012 @ 4:05 pm
Thanks for publishing your findings Helen, you covered everything I wanted to know! You have also saved me time and money.
Thank you,
Fiona
October 31, 2012 @ 11:00 am
I am glad my posts get read and this one was useful to you Fiona.
November 11, 2012 @ 11:04 pm
I was wondering if it is possble to bake PMC itmes still in molds made of Siligum. I am something of a novice and find I can’t get items out of the mold without stretching or squashing them a bit and was thinking that baking them first might be better.
November 11, 2012 @ 11:44 pm
Hi Kate
I am not super sure with Siligum as I haven’t got the packaging any more. I know that with the other mold mentioned it says on the package that you can actually bake it in the mold. You might want to check Metal Clay’s website for more info about Siligum. When things distort a little I just try to shape it by hand.If you bought Siligum it should say in the instructions.
December 10, 2013 @ 2:27 pm
Hi Helen,
great and useful post! Do you know if either of these producst could be used to make a bottle out of sugar glass? the Amazing Mold Puddy website seems to say so but I do not know how one would make a mold of a bottle that would allow the end result to be hollow inside?
any advice would be greatly appreciated.
December 10, 2013 @ 2:43 pm
Hi Josh
Thanks for your kind comments. To be honest I have no idea if you could, mainly because I only work with clay. It might also depend on how big your bottle would be? If it’s a bit bottle you would need an awful lot of molding compound. However I found this instruction to create a sugar glass bottle.Not sure if this is useful to you: https://www.instructables.com/id/Fake-glass-bottleSugar-glass/
February 23, 2021 @ 3:25 pm
Hi
Can you directly cast from this instead of using jeweler’s wax?
February 23, 2021 @ 7:46 pm
Hi Dawn
Thank you for your comment. I honestly don’t know as I have no experience with jeweller’s wax. This is really just for making simple moulds.
What is it you want to mould?