
The making of my fennec lino print.
In this post I am sharing with you how created this cute fennec lino print.

Fennec foxes are striking creatures, I absolutely love them, they have these enormous ears that make them look so cute. Of course I had to try my hand at carving one in lino. As you can see I actually created two versions on Essdee softcut. This is the first block I created.
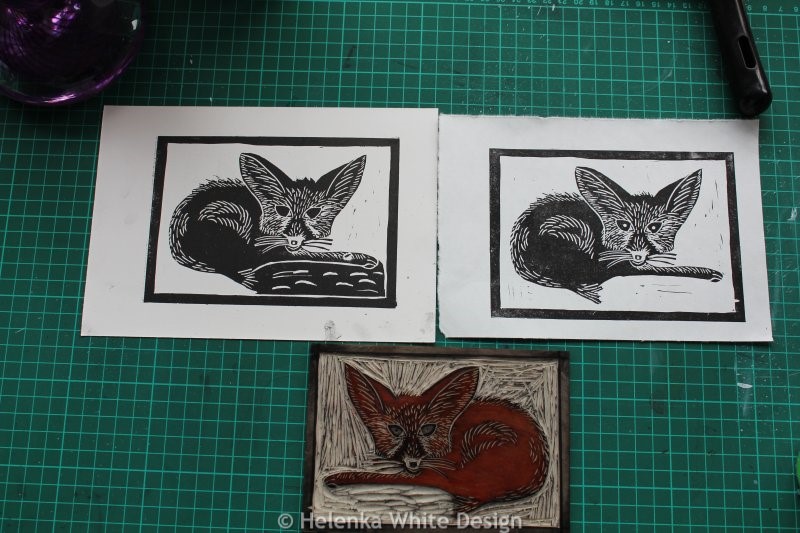
I followed advice to colour in the drawing so I know where to cut. However, I made quite a few mistakes along the way and wasn’t too happy with the way it turned out. As with all things, linocutting takes practice, and sometimes it’s worth it to start again. So I decided to create a new block. This time I changed the tail and also areas of the fur. I also wanted as little background as possible. I think this final version is still not perfect, but I like it.

As you can see I did a few test prints as I carved to make sure I get the details right.
As I am printing this all by hand with my glass baren and a wooden spoon I opted for the thin but strong Hosho paper. This comes in a big size block. I always halve the paper and carefully tear it along a metal ruler, this creates a slightly rough edge. Sometimes I get it wrong. That paper isn’t wasted though and will be used for test prints or cards. I don’t like wasting art supplies as they are expensive, so I want to get much use out of them.
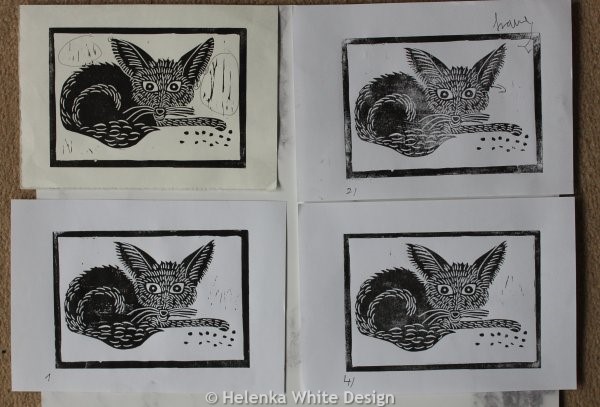
As with most of my prints I used Caligo Safewash ink in black.
It’s easier to roll out and doesn’t dry out on the the Perspex sheet I use for rolling out the ink. However, unlike water based ink, it takes longer to dry on the paper.
I messed up quite a few prints sadly. I might offer a couple as proofs for lower price.
I hope you like my little fennec. You can find my prints here.
Thanks for reading
Helen x