
The making of…a bracelet woven on a beading loom
I have decided to share with you a few images of some of my jewellery, which show them in the process of creating them and you can find these under the new category “The Making of..”
This bracelet was made on a beading loom, with tiny Japanese seed beads.

I first had to attach the threads on the loom according to the instructions, which is a bit fiddly, but before I did that I drew the design pattern on graph paper to figure out how many rows of thread I would need. For this bracelet I had 11 beads sitting in one row -so I needed 12 threads. Once the the threads were attached to the loom, I generously measured the thread which holds the beads per row and attached it to the first thread at the start of the loom. The first 3-4 rows are a bit tricky to start with , but after a while you get used to the technique. It does require a lot of concentration as you don’t want to miss a bead when weaving them all in, which can easily happen. Here is a photo of the bracelet still on the loom:
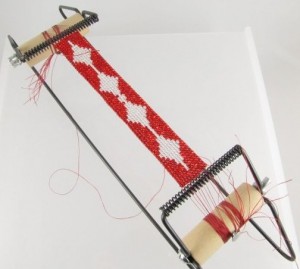
This gives you hopefully an idea of the process. In contrast to hand bead weaving techniques like the Peyote Stitch, you end up with lots of threads, once you have reached the end of the piece you are weaving. This is the part of the process I like the least because it is time consuming and not so much fun than the actual weaving. Once you cut off all the threads you end up with something like this:
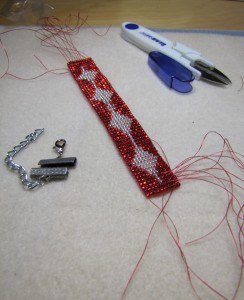
On this photo you can see the clasp I have attached to the bracelet – it has an extension chain, which makes this suitable for all sizes. Here you can also see the threads still protruding from the rows of beads. Each of these threads had to be woven back in and then snipped off, which is also a bit fiddly.

After you have have finished each ends you can attach the clasp.
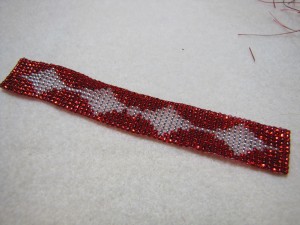
For this I glued HypoCement glue onto the ends, slid the clasp onto them and squeezed them carefully with flat nose pliers, so not to break the beads. HypoCement takes a bit to fully bond, so I left it to dry. Finally I made sure that glue wasn’t sticking out and removed glue bits. And this is the finished piece.
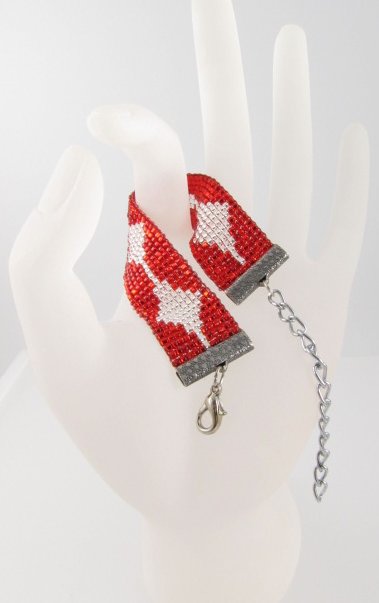
I hope you like it and have an idea of how much work goes into a bracelet like this one. I think it took about 2 hours to make. If you click on the last photo it will take you directly to the page in my shop.
February 22, 2011 @ 8:40 pm
wow I think you need to have a lot of patience to do this type of work. Great result though!
March 2, 2011 @ 10:20 am
And a good a masseuse. It’s fiddly, because the beads are tiny and you really need sufficient light and ideally a magnifying glass. I prefer making these type of bracelets as wristbands which are just braided, as then you don’t have the problem with tucking all those threads in.
March 2, 2011 @ 9:46 am
What a great post Helen – so good to see the different stages of making the bracelet in this way. I’m not a jewellery maker but I reckon lots of people interested in jewellery could really learn from this!
March 2, 2011 @ 10:18 am
Thanks Andrea. I just have to remember to take more photos from now on as this is a regular feature from now on:)