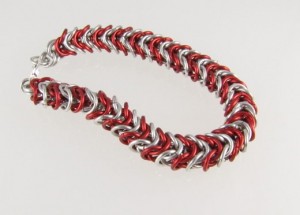
Review – Chain maille kits
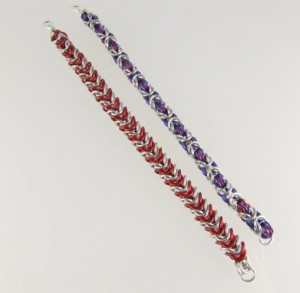
This weekend I spent most of my time teaching myself a new technique I always wanted to learn: chain maille, which creates beautifully textured bracelets and necklaces by interlocking jump rings.
I ordered two chain maille kits from Beadsisters, a shop that specialises in chain maille and sells a wide range of jump rings in various sizes and metals.
As most colour options were already sold out, presumably due to a positive review in Making Jewellery magazine, I opted for the Byzantine chain maille kit in purple and red and the red and silver box chain maille kit.
Each kit contains enough jump rings to create a bracelet that could fit a larger wrist than mine- I had plenty of jump rings left –, a lobster clasp, an eye pin which you attach the first jump ring to, when you start the bracelet, and a head pin which is used to help finding the entry point for the next set of jump rings you attach as you go along. An A4 sheet with clear instructions (though I stumbled over step 7 in the Byzantine kit which says step 3, but I’m pretty sure it means step2) and detailed photos are also included as well as a small sheet which explains how to open and close jump rings. All you need are two chain nose pliers which are non-serrated, so the jump rings don’t get not marked.
I started the Byzantine kit first and it took a few hours to finish. I think it looks quite impressive and the technique is really easy to grasp. The same goes for the box kit.
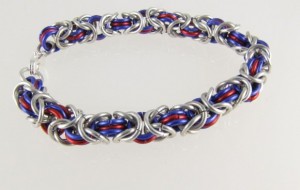
The jump rings supplied are made of aluminium and are anodised to give them their colour.
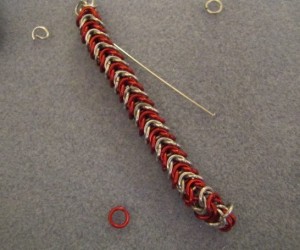
The advantage is that the finished bracelets are incredibly light weight – you wouldn’t expect that when you see them. However it’s nigh on impossible not to occasionally get them marked and the colour easily gets scratched off. A way to avoid this is really to invest in good pliers and smooth them down with sandpaper as recommended in the leaflet. I just wonder how they would grip. I also found that while the bright coloured jump rings are all either machine sawn or hand sawn, the coloured ones appeared to be cut with side cutters. Not that it matters much, but it does show when closing the rings.
All in all though I am very impressed with both kits and would highly recommend them as they give you a good introduction into the technique. If I would consider making bracelets like these in the future I would opt for copper, plated silver or gold plated, but make sure the rings are all uniform. I would also use smooth pliers (or making them smooth) for this purpose.